What Is Image Compression? A 10-Minute Beginner Guide
SlimImg Teamon
8 min read
image-compressionweb-performanceseotutorial
A single unoptimized hero image can weigh more than your entire web-page budget.
Welcome to your crash course on image compression. In the next 10 minutes you’ll learn:
- Why images slow sites down (and hurt SEO)
- Lossy vs. Lossless compression in plain English
- Key metrics—quality %, resolution, file size
- Popular formats (JPEG, PNG, WebP, AVIF)
- A step-by-step demo using SlimImg—no upload, privacy-safe
1. Why Should You Care?
- Performance – every extra 100 KB can add ≈ 0.3 s to Largest Contentful Paint.
- Mobile data cost – users on 4 G pay for each megabyte.
- SEO – Google’s Core Web Vitals ranking factors reward fast pages.
- Accessibility – slim pages load on older devices and poor connections.
🔍 Case study: An e-commerce store compressed all product photos, cut average page size by 68 % and lifted conversion rate by 38 %.
2. Lossy vs. Lossless
| Type | How it works | Typical saving | When to use |
|---|---|---|---|
| Lossless | Removes metadata, optimizes entropy without dropping pixels | 10–30 % | UI icons, logos, graphics with text |
| Lossy | Discards detail the eye barely sees | 40–90 % | Photos, hero banners, backgrounds |
Pro tip: Combine both—first lossless, then gentle lossy.
3. Key Metrics
- Quality % (q-factor) – lower = smaller file, but more blur.
- Resolution – serving a 4 K image to a 1080 p viewport wastes pixels.
- File size – what users actually download.
graph LR;
A[Original 4 MB] -->|Lossless 20 %| B(3.2 MB);
B -->|Resize ×2| C(0.8 MB);
C -->|Lossy q=80| D(0.25 MB);
Example pipeline turning a 4 MB DSLR shot into a 250 KB web-ready hero.
4. Popular Formats at a Glance
| Format | Best for | Browser support (2025) | Typical saving vs JPEG |
|---|---|---|---|
| JPEG/JPG | Photos | 100 % | baseline |
| PNG | Transparency, UI | 99 % | 5–30 % (lossless) |
| WebP | Web photos + alpha | 97 % | 25–35 % |
| AVIF | Next-gen photos, HDR | 92 % | 30–50 % |
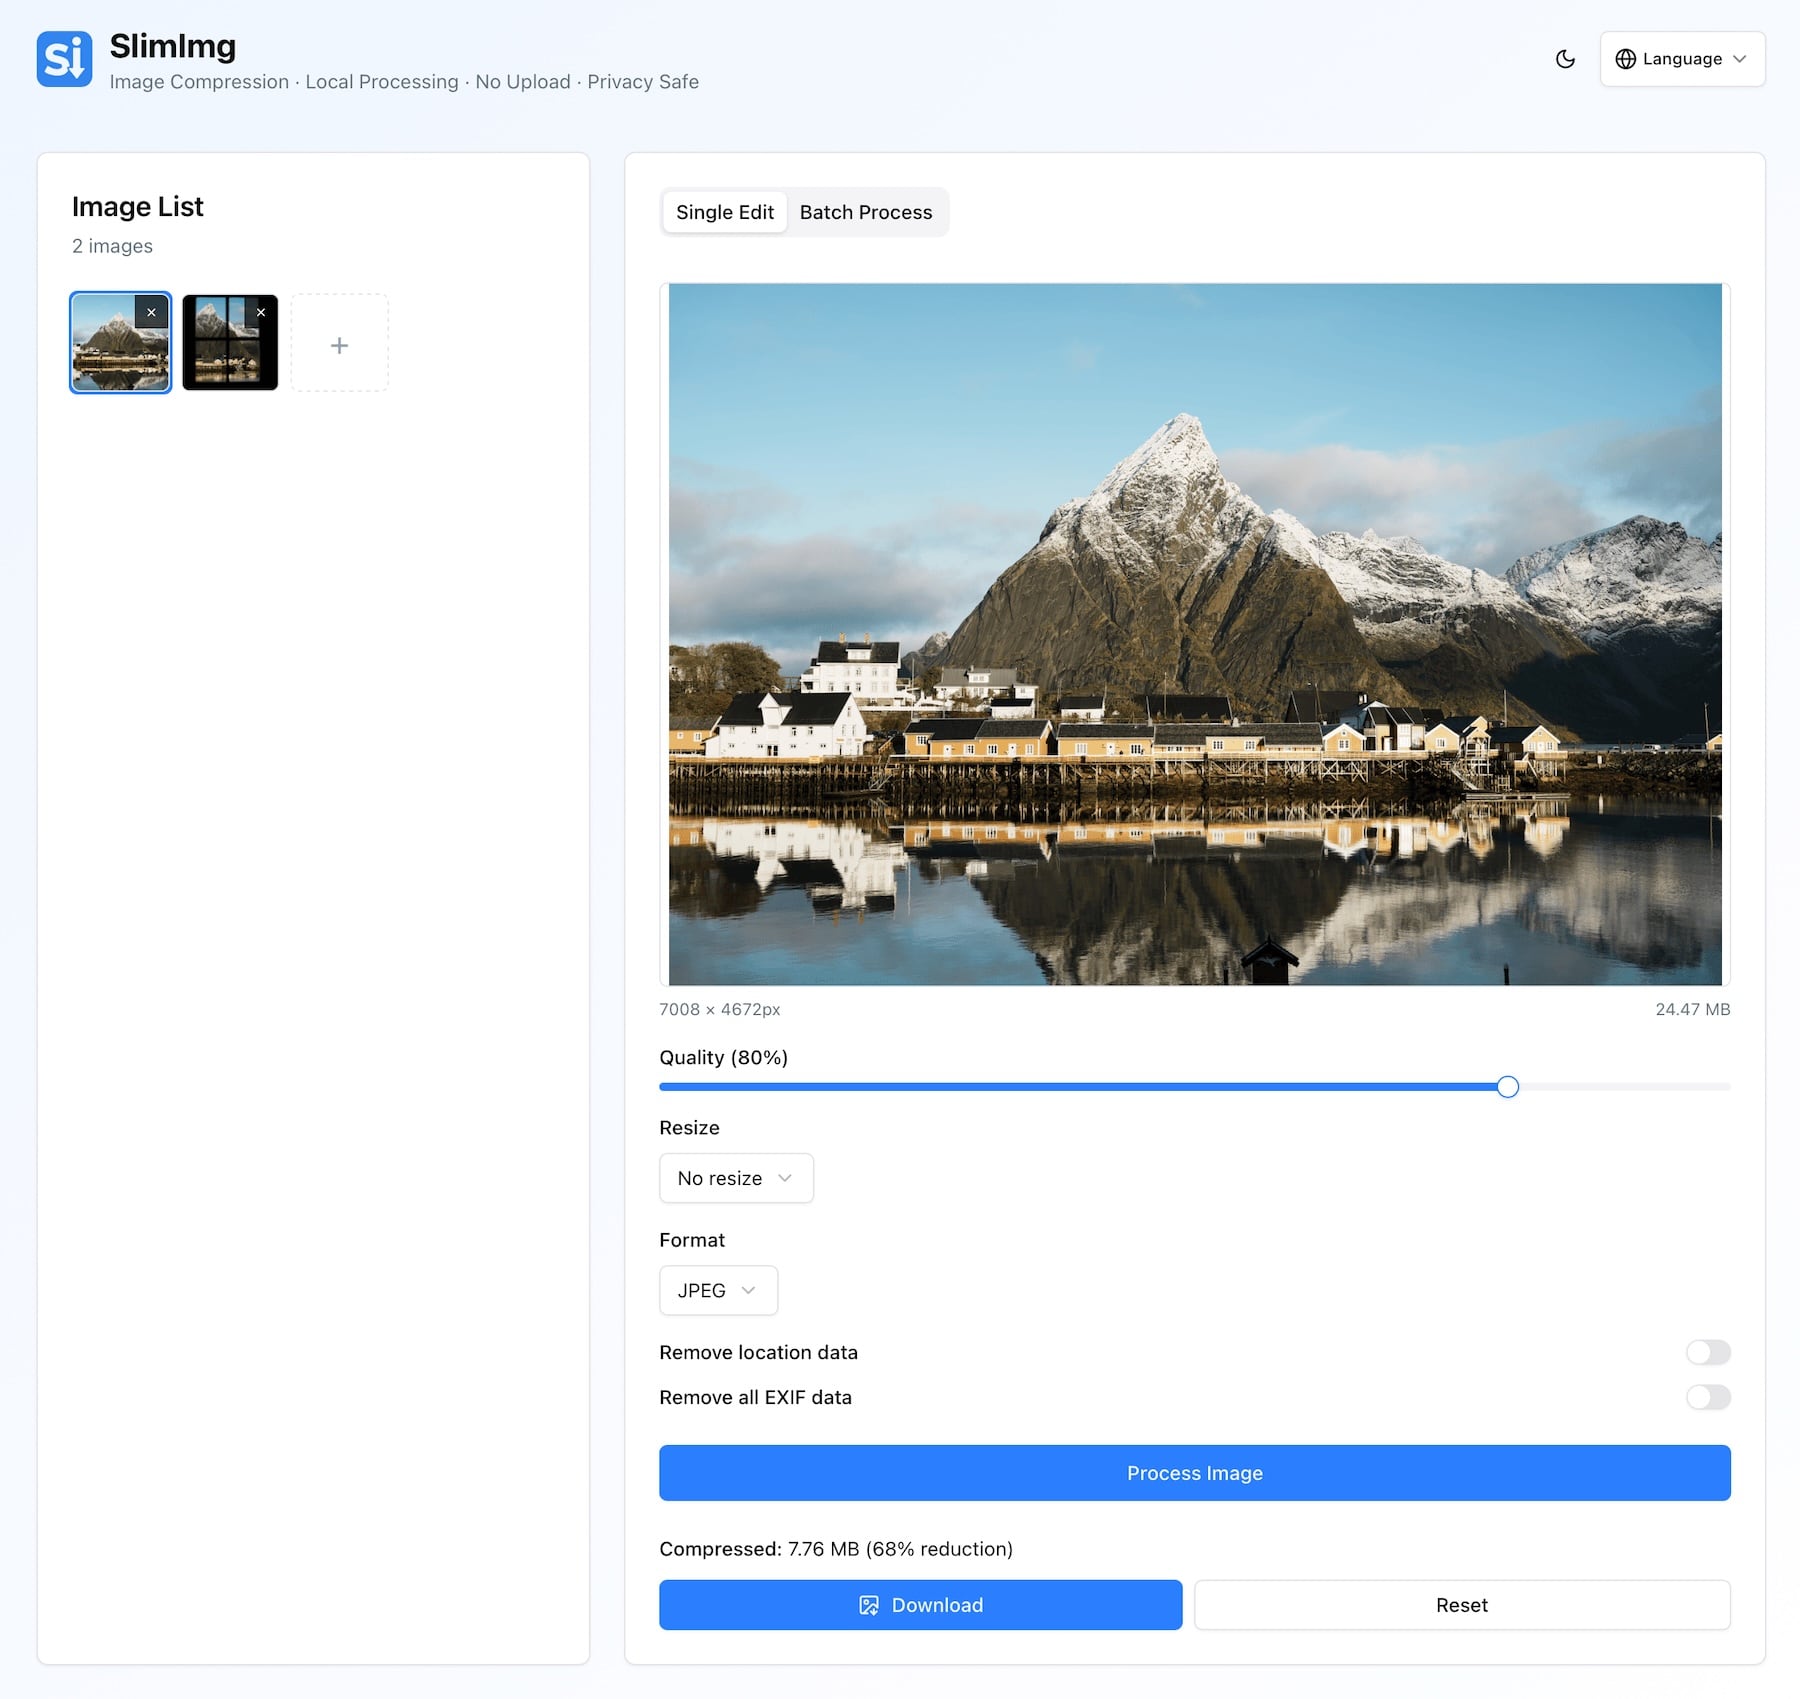
5. Hands-On: Compress Your First Image with SlimImg
🕒 Time required: 2 minutes
- Open https://slimimg.tools
- Drag & drop your image (JPG / PNG / WebP / AVIF)
- Adjust the quality slider—preview updates instantly
- (Optional) Resize or strip EXIF data
- Download—all processing happens locally; nothing is uploaded
💡 Tip: Need to compress dozens at once? Switch to Bulk Mode and drop a whole folder—the app zips everything automatically.
6. Best-Practice Checklist
- 📐 Serve images at intrinsic size (no 2× waste)
- 🖼️ Use
<img srcset>or Next.js<Image>for responsive loading - 🎨 Choose WebP for photos, PNG-8 / SVG for flat graphics
- 🏷️ Add ALT text after compressing—SEO + accessibility
- 🚀 Test with PageSpeed Insights after each batch
7. Further Reading
- Google Image SEO Best Practices
- Web.dev Use WebP images
- SlimImg 3 Practical Ways to Strip EXIF Metadata & Protect Your Privacy
Ready to Shrink Your First Image?
Give SlimImg a try → Compress Now